My Process
This is my work process in general when it comes to developing a design I can work with and use in my multimedia projects.
Step 1
The idea
We start off exploring new shapes and visualising images related to the subject in question. I usually find some similar projects or products, to look at for functionality and purpose. Plenty of research. After visualising my idea I start sketching many iterations. The one I like the most, I take and continue working on it.
Step 2
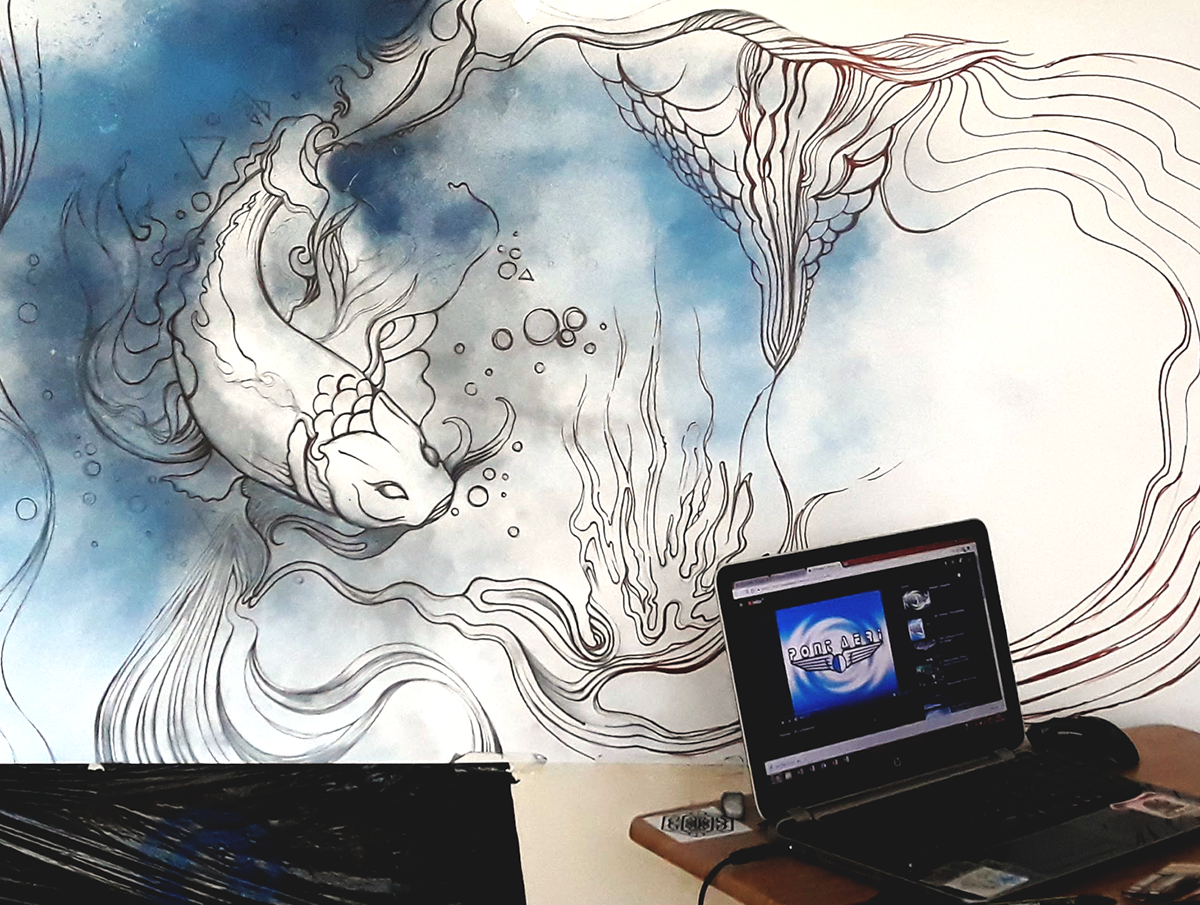
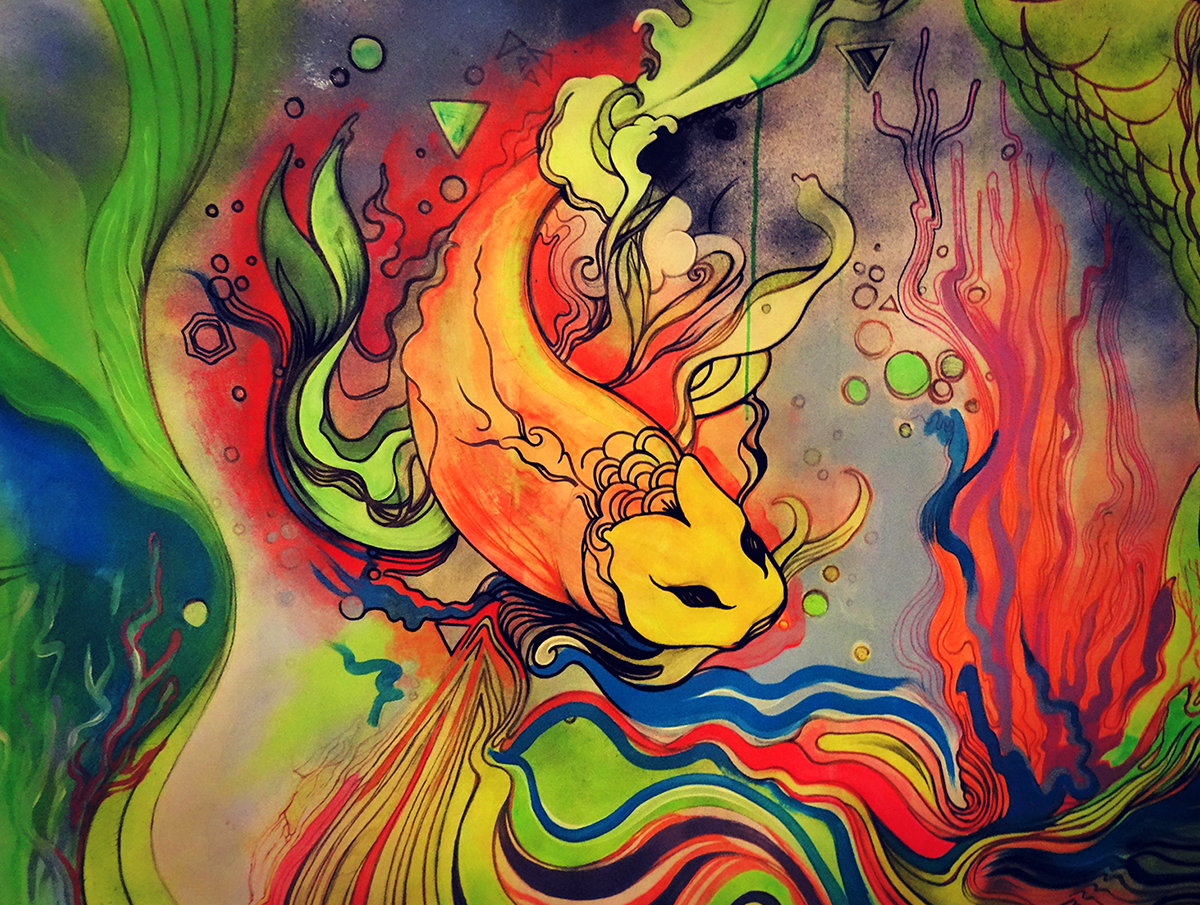
Building the concept
This is how it all started. With a sketch. The next step is really pouring yourself inside your concept, so as I'm colouring the shapes and adding the details I can visualise the many ways I can go with this design. Most of the time I just let the color flow wherever it wants, and I adapt to it.
Step 3
Personalisation
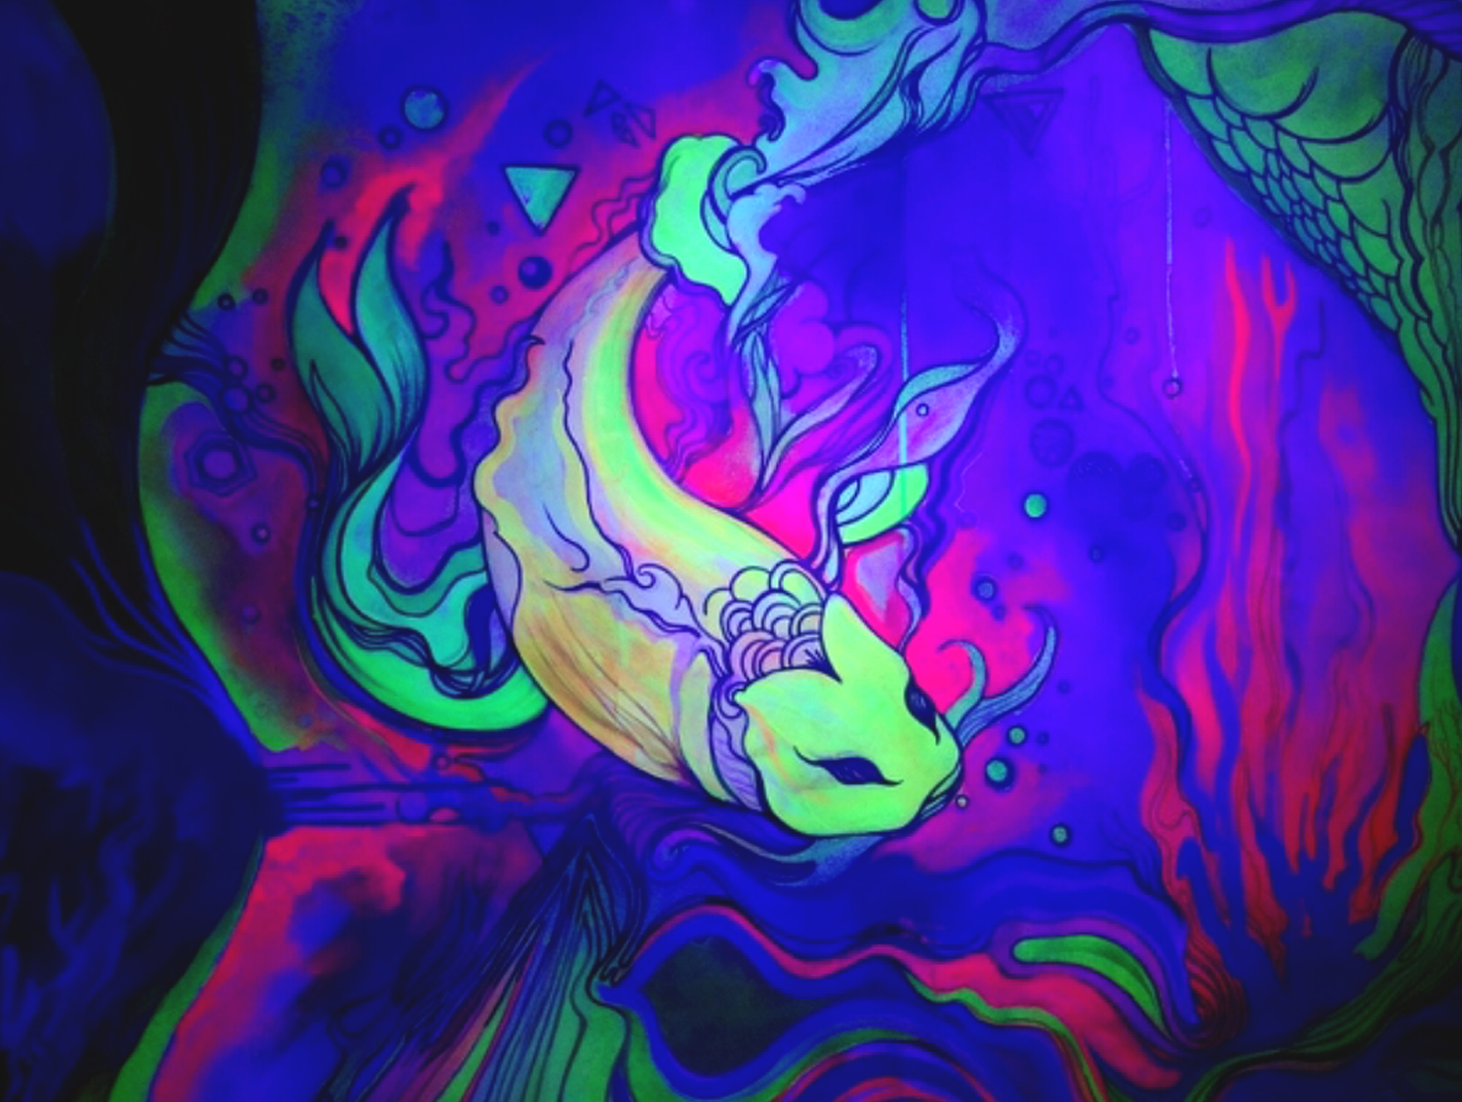
personalization /pəːs(ə)n(ə)lʌɪˈzeɪʃ(ə)n/ the action of designing or producing something to meet someone's individual requirements. Here, the requirement was an extra layer of color that would be visible under UV lights. This is invisible in broad daylight, so it doesnt affect the original. The piece is a 2 meter painting designed for ambient purposes for a performance art project.
Step 4
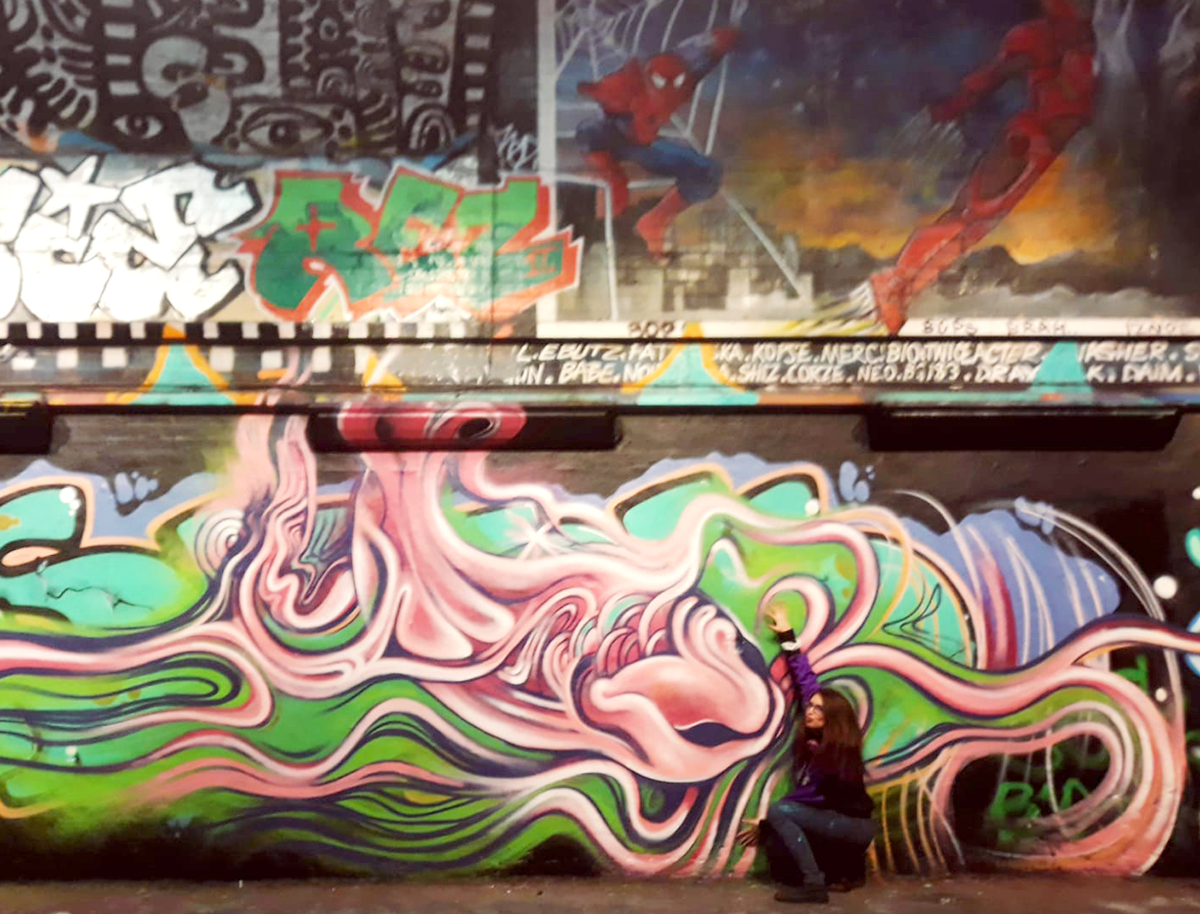
Implementation
When I get to implementation I am already familiar with my design's structure. This makes the creation process easier for me as I can move faster. While working on auto pilot I can focus on details and further improvements. This is the perfect opportunity to test your design and analyse the feedback.
Step 5
Use
Now that I have a stable concept, I use digital drawing tools like Adobe Illustrator and create my base for this design. Vectors are the best and this way, I can turn my images and designs into SVG animations that I can use as stock for my personal design library. I try to develop my skills and make sure that I have an original design.